SURVIVAL & WIPE GUIDE
Welcome to the Bloodaxebrotherhood beginner's guide. Whether you are completely new to Rust or just need a refresher on wipe strategies and raid costs, this guide has everything you need to survive.
THE WIPE STRATEGY
A solid step-by-step plan for the first few days of wipe.
Before Wipe (Preparations)
- •Target Build Spot: Check the map before joining. Your primary goal is to find a solid location away from the worst chaos, while still providing access to roads/power lines and monuments for recycling.
- •Plan B and C: Have 2-3 alternative build spots ready in case Plan A is overcrowded.
- •Safe Zones: Check Outpost/Bandit Camp locations. Building somewhat close to them provides a safe place to recycle early on.
Wipe Day!
- •Spawn and survive: Pick up hemp plants like your life depends on it. Craft a sleeping bag immediately and place it towards your build spot. Craft a bow.
- •Get the base down: Farm just enough wood and stone for a 2x1 base with an airlock. Lock the Tool Cupboard (TC). Place standard key locks on the wooden doors.
- •Smelt Metal (Critical!): Hunt animals for Low Grade Fuel, build a Furnace, and smelt Metal Ore. Upgrade wooden doors to Sheet Metal Doors ASAP!
- •Scrap and Tier 1: Hit barrels along the road/monument. Farm enough to craft a Workbench Tier 1.
- •Weapons: Craft a Crossbow and a Nailgun before logging off. This prepares you for tomorrow.
Day 2 (Grind & Tier 2)
- •Fortify the base: Expand your 2x1 with honeycomb (stone) so it becomes much more expensive to raid you.
- •The Scrap Run: Run your monument multiple times. Recycle components you don't need (keep Gears, Springs, Semi-Bodies, Pipes). Goal: 500 scrap for a Tier 2 Workbench.
- •Tier 2 & Syringes: Place the T2. Tech-tree down to the Medical Syringe (syringes are critical for PVP).
- •Weapons: Learn any weapons (DB, Revolver, SAR) you found yesterday. If not, tech-tree towards a Thompson or SAR.
Day 3 (Fortress & Dominance)
- •Garage Doors: All scrap now goes towards finding/researching Garage Doors. Try to find them in brown crates to save scrap! (Research costs 75).
- •Fully secure the base: Replace all inner metal doors with garage doors. Combined with offline raid protection, you are now a terribly expensive target to raid.
- •Card Puzzles: Start running Blue and Red Card puzzles (like Water Treatment/Launch Site) to hunt for Tier 3 loot and airdrops!
RECYCLING CHEAT SHEET
What goes in the recycler, and what MUST you keep?
KEEP (Do not recycle!)
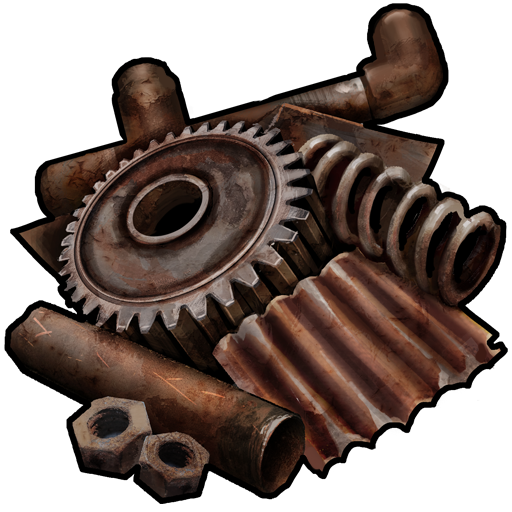 Scrap: The ultimate currency. Protect it with your life! Never throw away.
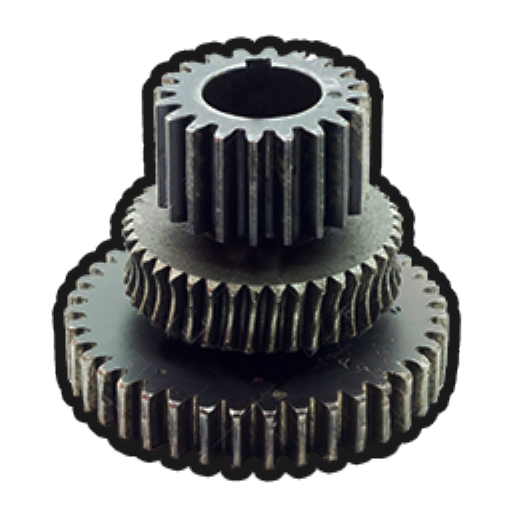 Gears: Extremely important. Needed for garage doors and armored doors. Rare in mid/late game!
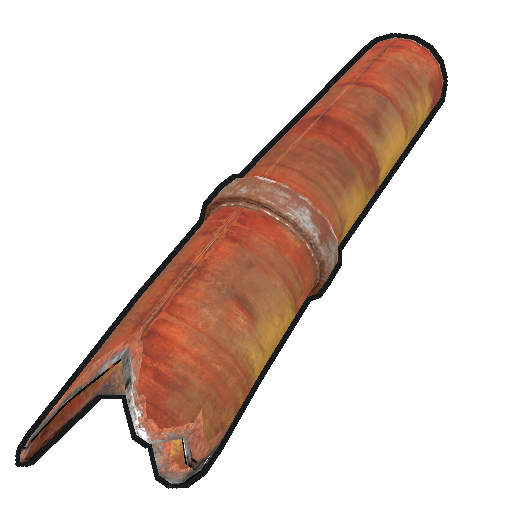 Metal Pipes: Required for almost all firearms, rockets, and syringes.
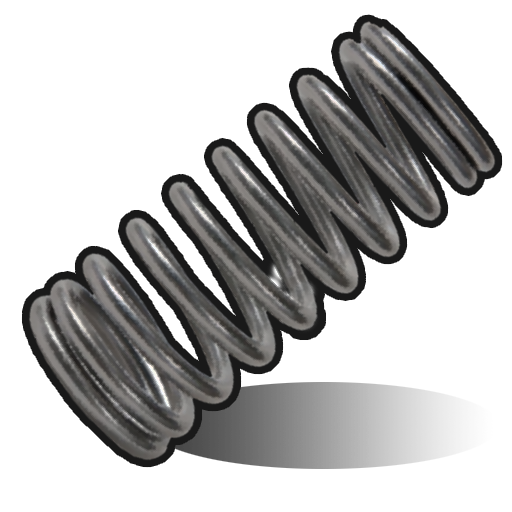 Springs: Necessary for absolutely all good firearms.
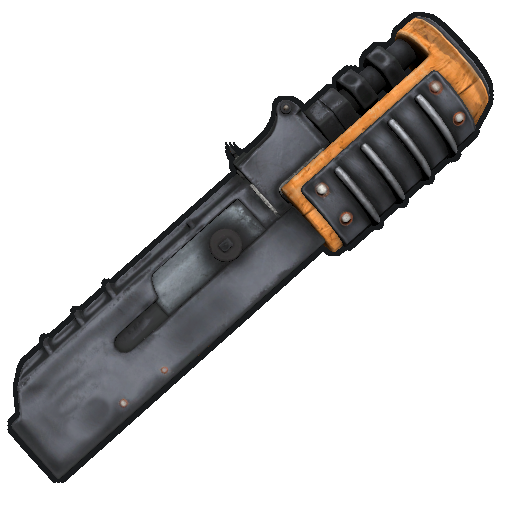 Weapon Bodies: (Semi-Auto, SMG, Rifle). Always save! This is your ticket to PVP weapons.
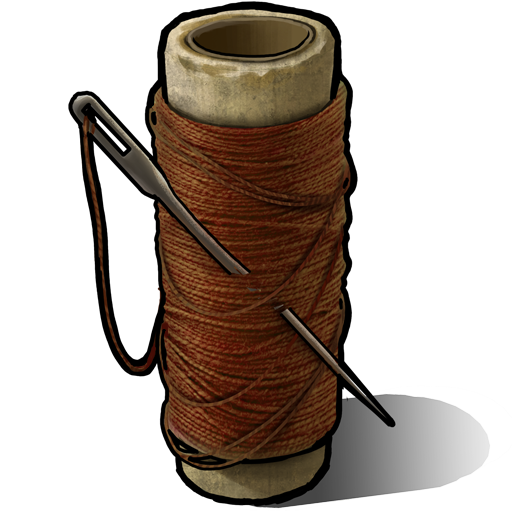 Sewing Kits: Crucial for crafting armor (like Roadsign/Metal armor) and high-tier clothing. Save them!
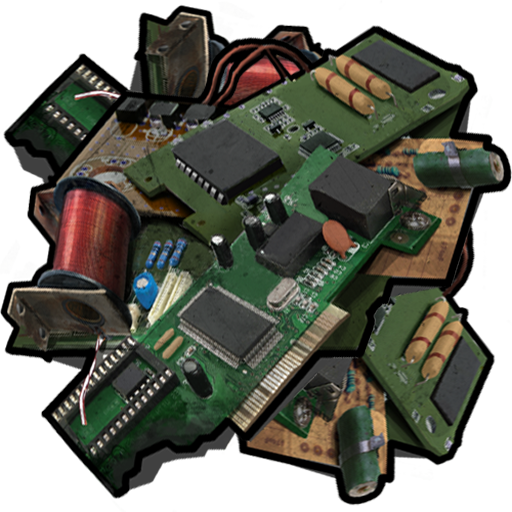 Tech Trash: From CCTV cameras and laptops. Used for C4 and advanced electricity.
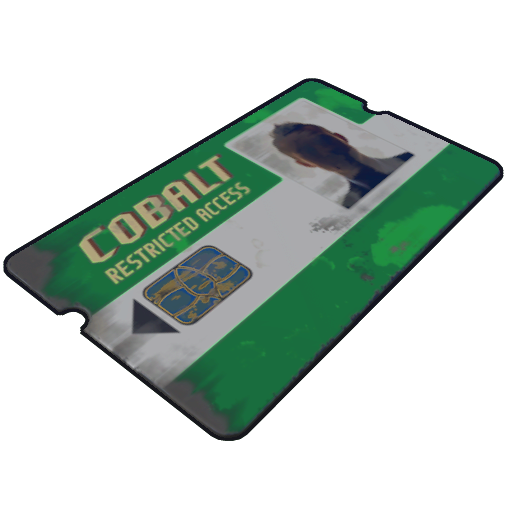 Fuses & Keycards: (Green, Blue, Red). Do NOT throw these away! You need them for the monument puzzles.
 Animal Fat: Never throw this away. Combine with cloth to craft Low Grade Fuel (critical for furnaces and vehicles).
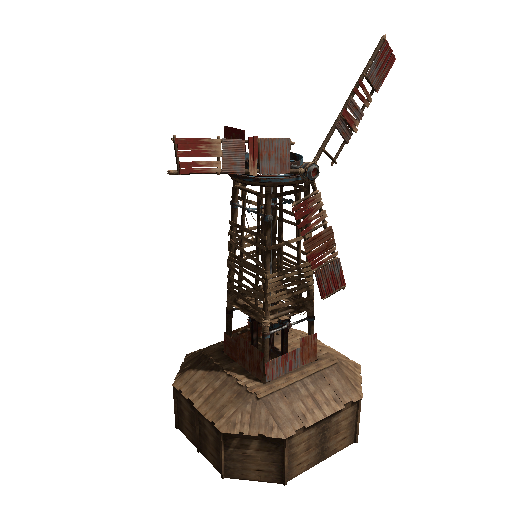
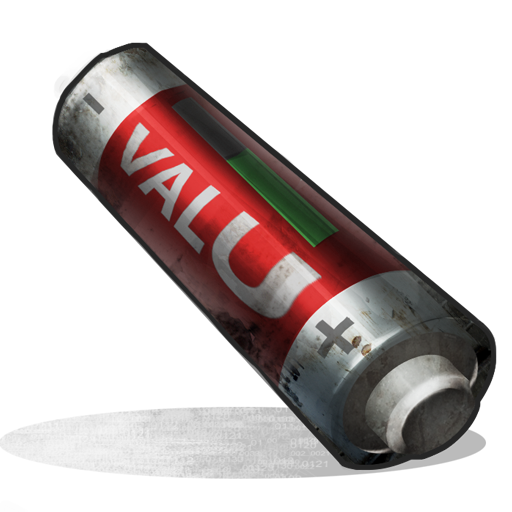 Electricity: Windmills, Large/Medium/Small Batteries, Solar Panels. Learn or use them!
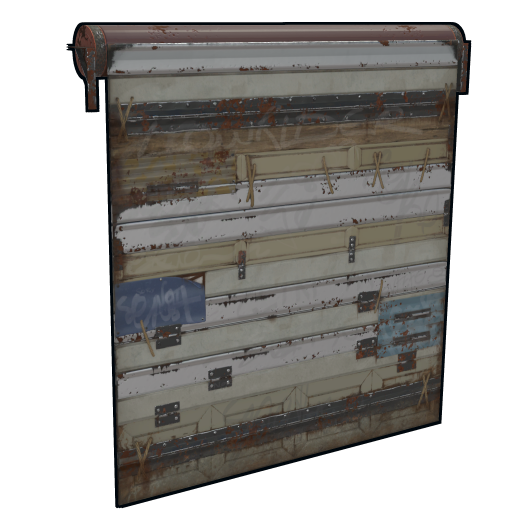 Defense: Auto Turrets, Garage Doors. These are worth their weight in gold!
- Equipment: Electric Furnaces, Mixing Tables. (Saves massive amounts of time).
RECYCLE (Grind for Scrap!)
 Empty Propane Tanks: Recycle all! You rarely need these, and they yield great scrap and metal frags.
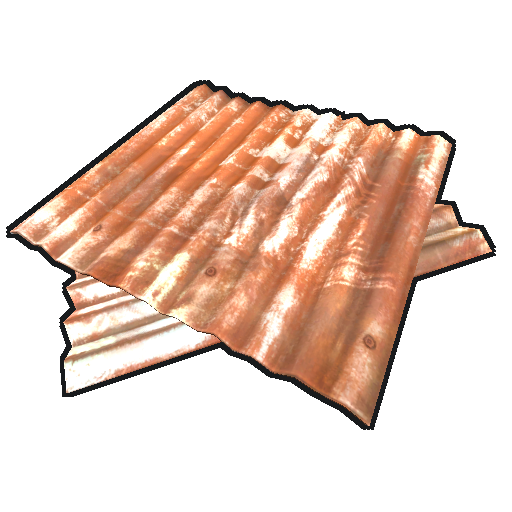 Sheet Metal: Recycle most of it! Yields HQM, scrap, and frags. (Keep 1-2 for windmills if needed).
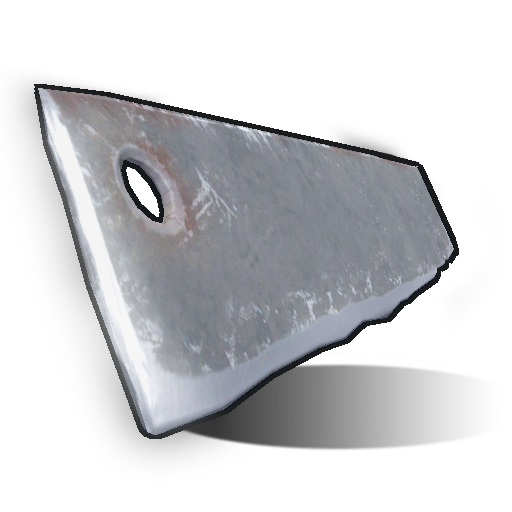 Metal Blades: Keep 5-10 for crafting Salvaged Icepick/Axe, recycle the rest. They pile up fast.
 Empty Cans (Beans/Tuna): *Pro tip:* Put them in a campfire instead of the recycler! They yield 15 metal frags each. Best way to get early Code Locks before finding a furnace!
 Tarp: Recycle! Gives an insane amount of Cloth. (Only keep if making planters).
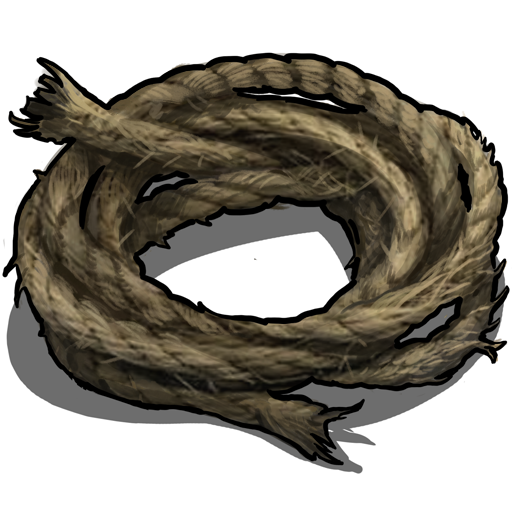 Rope: Recycle the excess. Yields cloth. Keep some for ladders and crossbows.
 Road Signs: Recycle excess once you have enough Roadsign Armor. Gives sweet HQM and scrap!
BEGINNER 101: SURVIVAL RULES
The absolute basics every new Rust player needs to know.
1. The Airlock Rule
NEVER open both doors at the same time. If you get killed in the doorway, the second door prevents enemies from going deep into your base. Close one before opening the next.
2. Soft-Side Walls
Walls have a hard side (outside) and a soft side (inside). If you build a wall backwards, players can break it with spears in minutes. Always ensure the smooth/pretty side faces IN.
3. Honeycomb Defense
Honeycomb is an extra layer of walls/triangles placed around your base. It acts as extra armor, meaning raiders must blow through multiple walls to reach your loot.
4. Use the 'ALT' Key
Hold ALT on your keyboard to look over your shoulder while running forward. Information is survival. Always keep checking your back.
5. Sleeping Safely
When you log off, your character falls asleep exactly where you stand. Always log off inside the safest room in your base, away from windows and doors.
6. Base Upkeep
Your base will slowly decay and break if the Tool Cupboard (TC) runs out of materials. Always check the "Upkeep Time" in the TC before logging off!
7. Snapping Deployables
Hold Left Shift while placing deployables (like large boxes or workbenches) to make them magically snap to walls and corners perfectly! Use R to rotate them while snapping.
8. Trust Nobody
Rust is a game of deception. If a naked player plays guitar and asks for help, they probably have friends with guns hiding in a bush. Be friendly, but keep your distance.
BASE DEFENSE & RAID COSTS
Everything about honeycombs, doors, walls, and what it takes to destroy them.
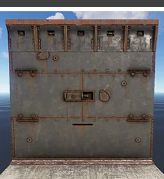
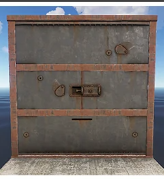
What is "Honeycomb"?
Honeycomb is an extra layer of building blocks (usually triangle foundations) placed entirely around your base. This acts as extra armor. Without honeycomb, the enemy only needs to blow through a single wall to get to your loot. With honeycomb, they must blast through multiple layers, making it extremely expensive and difficult for them.
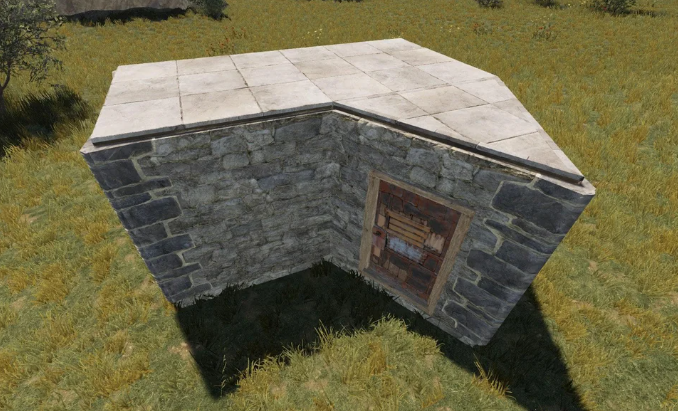
1. Without Honeycomb (Bad)
Only one wall separates the enemy from everything you own.
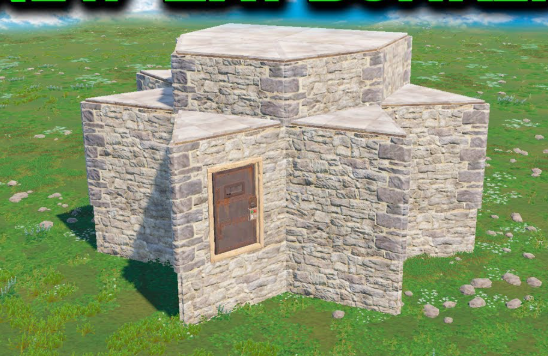
2. With Honeycomb (Good!)
Extra layer of protection wrapping around the core.
Raiding Tools (Explosives)
These are the tools raiders use to break into your base. Know your enemy!
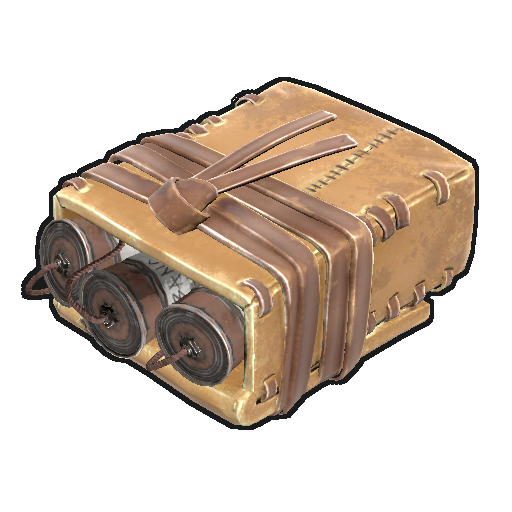 Satchel Charge
Early game explosive. Unreliable, might fizzle out.
 C4 (Timed Exp)
High tier. Massive damage to a single wall/door.
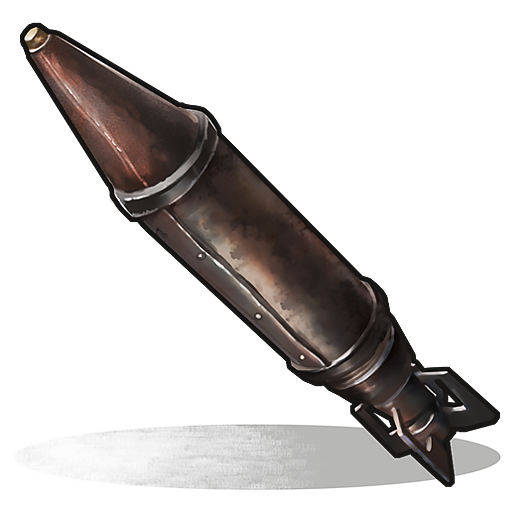 Basic Rocket
Fired from Launcher. Damages up to 4 walls at once (splash damage).
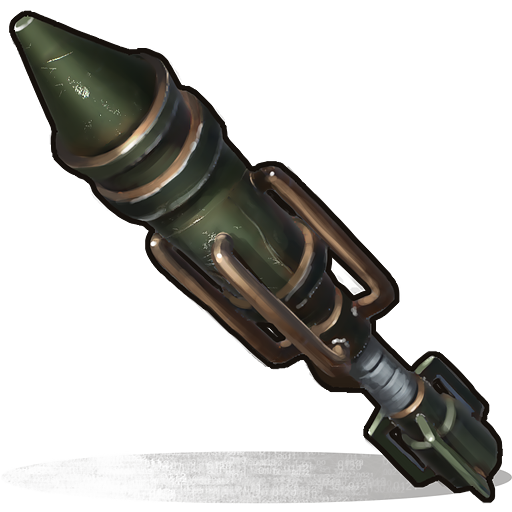 HV Rocket
Very fast, used for PVP/Helicopter, NOT for raiding bases.
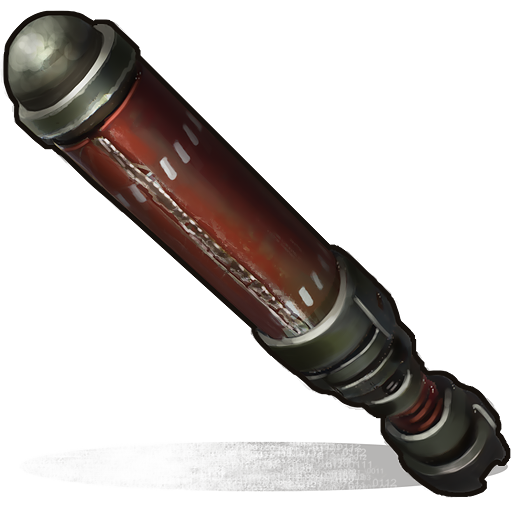 Incendiary Rocket
Creates a pool of fire. Mainly used for Area Denial or Turrets.
 Explosive Ammo
Shot from rifles. Used to quietly break doors from a distance.
Doors & Raid Costs
Here is how many explosives an enemy must use to break through the different doors in the game.
 Wooden Door
Very weak! Can be burned down with a campfire/flamethrower or destroyed with shotguns/swords.
 Sheet Metal Door
The standard door. Easy to craft, but enemies must use explosives to destroy it.
Garage DoorExtremely good for the price. Rolls up to the ceiling. The best protection per resource!
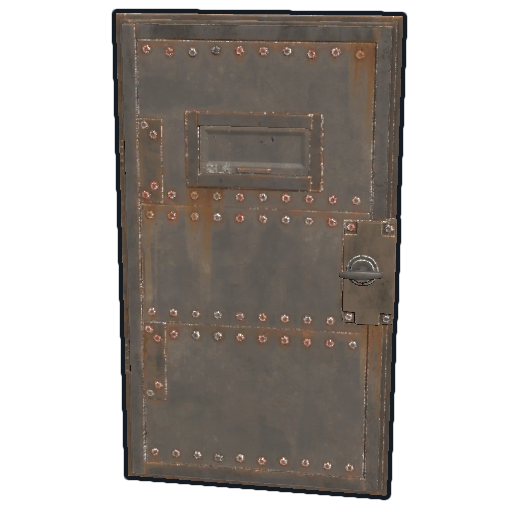 Armored Door
The strongest door in the game. Very expensive to craft (uses High Quality Metal).
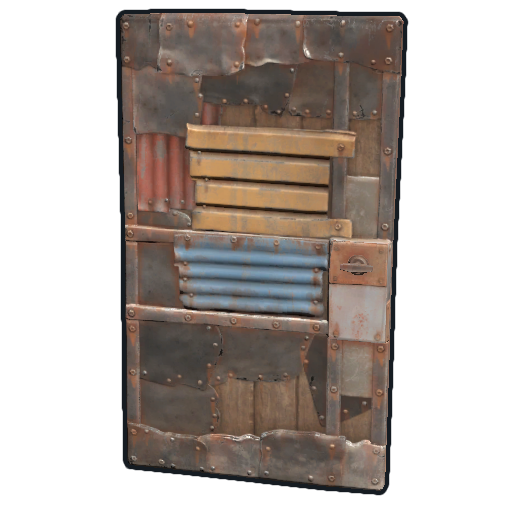
Hard Side vs. Soft Side (Walls)
Every single building block in Rust (walls, roofs, foundations) has two sides: a Hard Side (outside) and a Soft Side (inside). It is extremely important that the Hard Side always faces outwards toward the enemies. If you place a wall the wrong way (with the soft side facing out), someone can use primitive tools like spears or pickaxes to destroy it silently in minutes, instead of using expensive explosives!
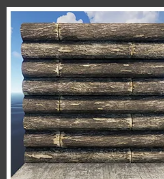
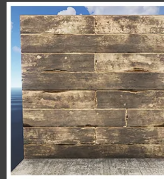
Wood Wall
Hard (Logs): Requires explosives or fire.
Soft (Planks): Can be easily broken with axes/machetes. Takes ~3 mins with salvaged swords.
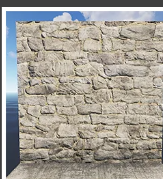
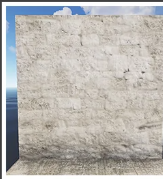
Stone Wall
Hard (Rocky): Requires 2 C4 / 4 Rockets / 10 Satchels.
Soft (Smooth): Breaks with 7 Pickaxes in ~10 mins.
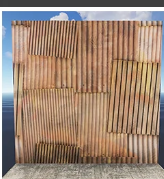
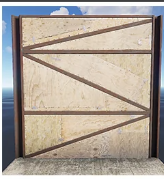
Metal Wall
Hard (Corrugated): Requires 4 C4 / 8 Rockets / 23 Satchels.
Soft (Frame): Takes 20+ Pickaxes. Very tedious but possible.
Armored Wall
Hard (Rivets): Requires 8 C4 / 15 Rockets / 46 Satchels.
Soft (Smooth): Too hard to pickaxe realistically. Still needs explosives.